Pages

Showing posts with label Thanksgiving. Show all posts

Saturday, December 17, 2011

Easy Entertaining Part I: The Perfect Pie Crust

The 2011 holiday season is now in full swing! It is amazing how quickly it has passed already. I love Christmas (maybe a little too much) and like to enjoy it as long as possible. We put our tree up in early November and can hardly believe that I'm just 2 weeks away from having to take it down. As we all know, with the holidays come parties and family get-togethers. Over the next few days, I'm going to share a few posts about easy dishes to cook and ways to make your parties and get-togethers go smoothly and easy. A quick disclaimer: the next few posts will not stick to my normal theme of healthy eating!
The first post is all about how to make a perfect pie crust. Most people have a favorite pie recipe that they like to make. It is the perfect dessert to take to a party or serve at your own family's get-together. I'm not going to try to sway your opinion on the best pie. I am going to share with you how to make your pie even better. This pie crust is so easy and so much more delicious than a store bought one. I've found that people don't normally have a problem making a pie crust, it's the rolling it out, getting it in the pan, and baking it that is difficult. I always use the Crisco brand recipe for pie crusts. It's really flaky and delicious so I'm not going to reinvent the wheel with this one.

The perfect pie crust:
Crisco pie crust dough prepared and formed into a ball  (link above)
A large, clean workspace (granite counters or a large cutting board work great!)
Rolling pin
Spatula or another utensil that is very thin (I use a pie server)
Pie cooking dish
Uncooked beans
Aluminum foil
Extra flour

1. Prepare the pie crust according to Crisco's recipe. Form into a ball and wrap in plastic wrap. Allow the dough to chill in the freezer for about 30 minutes. You can also do this a few days ahead of time and place in the refrigerator until you are ready to use it.

2. While the dough is cooling down, place your cutting board, rolling pin, and thin utensil in the freezer as well. You want as much of your equipment as possible to be very cold.


 3. The key to keeping the dough from sticking is to have a small layer of flour between the dough and your working surface. Place about 3 tbsp. of flour on your board/counter and then your ball of dough. Cover any area of your working space that the dough might touch with flour.


 4. Spread some flour on your rolling pin and use it to begin to roll out your dough. Start from the center and roll outwards pressing firmly. Always come back to the center to roll out. If the rolling pin begins to stick, dust it with some more flour. Using your pie dish to measure, roll until it is about 1/8 of an inch thick and where you have enough to go 2-3 inches past your circular pie dish.

 5. Now begins the transfer of the dough into your pie dish. Carefully begin lifting up. Begin to gently roll the doll onto the rolling pin. Use a spatula to carefully unstick any parts that may stick.

 6. Roll the dough completely up on the the rolling pin. Set it on the pie dish and unroll onto it.

 7. Use your hands (if it begins to stick, put a little flour  on your hands) to press the crust down into the pan. Here, you can use two fingers to form a nice rim. I had something else in mind for this one. You'll see below. If your pie crust doesn't need to be cooked before you add the filling (usually fruit pies do not), you are done! Add your filling and bake according to your recipe. If your pie crust needs to be cooked before the filling is added or if you just want to ensure that the crust is not mushy, continue with this recipe.

 8. Place a layer of aluminum foil on top of the pie crust and then a layer of the uncooked beans. Make sure the beans cover the entire bottom. Bake at 350 degrees for about 12 minutes or until the crust is beginning to brown. It will continue to cook once you add the filling and bake again.

9. Instead of a normal rim, I added leaves to this pecan pumpkin pie. Using some left over dough, I cut out the leaves and added them to the pie as the pecan filling was cooking.

Now, if you don't have a favorite pie recipe, this Pumpkin Pecan Pie is my absolute favorite during the holidays. I also substitute sweet potato pie sometimes in this recipe. Also, another easy way to jazz up a regular pie crust for extra flavor is to add about 2 teaspoons of the spices or chopped nuts from your pie recipe.

This recipe will make your regular pie recipes a little more special.

Thursday, November 24, 2011

Happy Thanksgiving!

Today is one of my favorite holidays. I'm a big believer in living with an attitude of thankfulness. I try to live in thankfulness and not take normal things for granted. I've written lists of things that I'm thankful for for a few years now; you can read them here: 2008, 2009, and 2010.

In 2011, we've seen God do some amazing things. I'm thankful for so much, but I'm going to [attempt] to keep it to my top 5 things!

1. I'm thankful for Jesus. I write this every year, but every year, I'm more and more thankful for Him. I'm thankful for Jesus, His grace, His mercy, His love, and His forgiveness. His faithfulness blows me away. This year has been full of God's blessings.

2. I also repeat this one every year, but I'm more and more thankful for my husband as everyday passes. Daniel is such an amazing husband. As we've been married for 3 1/2 years now, God teaches me daily about HIS love for me through how Daniel loves me. Daniel spoils me, lives to make me happy, and is an incredible man of faith.

3. I'm thankful that in this year, we've seen two family members healed of cancer! God's healing power has been with us this year and it has been remarkable to experience.

4. I'm thankful for my family. I've been blessed with amazing parents, sister, grandparents, and in-laws. All of them are the light of my life. The past few months have been especially hard for me, as I've desired so strongly to move back to the Upstate, SC. I've learned more than ever this year why God has us in Charlotte now. We're here because we are 1 hour from my grandparents and just under 2 hours to my parents and sister (and only 9 hours to Dan's family, which is really so much more bearable than 12!) Being able to see them a little more often has made a big difference in our lives.

5. I'm thankful for what is next. Life is pretty amazing right now, but the best is yet to come. God has some big changes coming for our family. We've got a big step of faith to take in the coming months. Although these steps are quite nerve racking, I know that in our most uncertain times over the past few years are the times that we've felt the most at peace and the closest to Jesus. I'm so excited to see what God does.

I hope that you all have a wonderful Thanksgiving! Enjoy some delicious food and lots of quality time with family and friends!

Monday, November 21, 2011

Early Thanksgiving Tradition Part III

For the past few days, I've shared some of my favorite recipes from a tradition that my husband and I enjoy every year. You can read the first two posts here and here. For my last post of our early Thanksgiving Tradition that we celebrated a few weeks ago, I'm sharing my recipe for dressing. This is definitely my Southern side, but down here, we don't call it stuffing. It's dressing; our rational for that is that it dresses the turkey on the plate. I also do not make it with bread, but with cornbread. Just another testament to my deep Southern roots, until I started watching Food Network about 4 years ago, I did not even know that there was a such thing as so called "stuffing" made with bread. Whatever you call it, it's a must on every Thanksgiving table.

I love dressing. I usually end up making it sometime in May or June, just to get a fix to hold me over until the holidays. If you're Northern, or someone (like many of my friends) who was raised by Northern parents in the South, you should give this dressing a try. It's very simple, and it's very different, in a good way, if you've never tried it! If you're Southern and have enjoyed dressing many times, give this one a try to enjoy the comfort of dressing as a part of your weeknight meal. It makes any meal special.

This recipe makes 4-5 servings and can be doubled.

 
 For the cornbread, you'll need:
1 1/2 c. Self-rising Cornmeal Mix (I swear by the Tendabake brand)
1 egg
3/4 c. milk
1/4 c. olive oil 
2 bay leaves
1 tsp. ground sage
1/2 tsp. salt and pepper

 1. Mix all ingredients together in a large bowl. Add in the bay leaves. You will pull them out when you start to make the dressing.

 2. Put in a greased 8 x 8 pan and bake at 400 degrees for about 25 minutes or until a toothpick comes out clean from the center. The mixture should be fairly thin in the pan, it allows for it to dry out faster.

Place cooked cornbread on a drying rack and allow to sit out for at least 4 hours.

Sadie likes to sit on the bar stool while I'm cooking. So cute!

For the dressing, you'll need: 
Cooked cornbread
1/3 c. chopped celery
1/4 c. chopped carrots
1/3 c. chopped yellow onion
3-4 c. chicken broth
1/3 c. panko bread crumbs
1 egg
1 tsp. sage
1 tsp. of salt and pepper

 1. Chop up your vegetables into small pieces. 

 2. Saute the vegetables over medium-high heat in about 1 tsp. of olive oil. Add sage, salt, and pepper. Stirring occasionally, cook for about 10 minutes or until vegetables are tender.


 3. While your vegetables are cooking, crumble up your dried cornbread. Don't forget to remove those bay leaves!
4. Once vegetables are done, add them along with the egg and panko bread crumbs to the cornbread crumbs. Stir together well. 
5. Add 2 cups of chicken broth. Stir together. The mixture should be thoroughly wet, but there should not be any standing liquid. Add more chicken broth as needed so that the mixture is wet all the way through. This amount is different every time, depending on how dry the cornbread is. Mix well.


5. Spread in a greased dish. Bake at 350 for 35 minutes. If you are doubling this recipe, you'll want to use a bigger casserole dish and bake for about 45 minutes.


 Enjoy with gravy on top! 

 Whether you are Southern to the core, like me, or if you have never even heard of cornbread dressing (and think I'm a little weird for calling it dressing), I hope that you enjoy this Southern staple!

Saturday, November 19, 2011

Early Thanksgiving Tradition Part II

Today's post is all about gravy. Since I've been cooking Thanksgiving meals, my husband, Daniel, has learned to make some pretty amazing gravy. Everyone always raves over it and it has really become his specialty.   Gravy is one of those things that is kind of hard to cook. If you don't get it just right, it can turn out to be quite a mess. The method below allows you to add the flavorings that you want and helps you ensure that you'll have lump-free, amazing gravy every time. This is obviously NOT healthy. Everything in moderation, right?

This recipe makes 4-5 servings and should be doubled to serve a large family gathering.

What you'll need:
1 1/2 cups of drippings from chicken or turkey
1 c of water
1/2 c of all purpose flour
Seasoning and lemons that you used to flavor bird
Chicken Broth (as needed)

1. Place your drippings in a sauce pan and heat on medium heat. Use a slotted spoon to get out any large pieces. Add in about 1/2 c. of chicken broth to thin out. Bring to a low boil.


2. In the meantime, you can start working on your flour mixture. Add flour and water in a plastic container that has a lid. Now for Daniel's favorite part, put the lid on and shake vigorously for 2 minutes. 

3. Your flour/water mixture, known as a slurry in the food world, should be fairly thin and have no lumps. If there are lumps, continue to shake! 


4. Now, some people like their gravy thick and some like it thinner. You may not use all of the slurry and that's okay. This is all about making the gravy how you and your family enjoy it. Start by adding about 2 tbsp. of the flour/water mixture into your boiling meat drippings. Turn the heat down to medium low. Whisk around in the pan for about 1-2 minutes to allow it to thicken. Continue to add 2 tbsp. of the slurry mixture to make it thicker. If you get it too thick, add some chicken broth to thin it out.


I love being in the kitchen with him.

5. Continue to whisk and add the slurry as needed. Once you get it to the thickness you want, add 1 tsp. lemon juice, 1 tsp. pepper and salt, and about 1 tsp. total of seasonings that you used on the turkey/chicken, in this case, rosemary and a bay leaf. Continue to cook the mixture for about 5 minutes after you get it to your desired consistency.

Now, this gravy is really my favorite. The lemon and rosemary from the chicken really put it over the top. This gravy is topping my dressing. You'll have to come back in a couple of days to learn how to make it. :)

Thursday, November 17, 2011

Early Thanksgiving Tradition Part I

Dan and I love Thanksgiving. We love the time with family and all the food that we get to enjoy. Every year, we normally cook a small Thanksgiving dinner for ourselves to test out new recipes and practice our specialities to get ready for the real thing. I've cooked our Thanksgiving meal for Dan's family for the past 3 years, so this has become quite a tradition for us. It's a sweet time to cook together, without the hurry or other people, and just enjoy each other's company. We also usually try to make it as healthy as possible. Over the next few posts, I'll share with you some of our recipes for the holidays.
In this post, I'll share how to cook a delicious Thanksgiving bird. When we cook our little early Thanksgiving dinner, we don't cook turkey. We normally cook a chicken instead, mainly because you can buy them much smaller- since its just the two of us. This recipe could (and will at our Thanksgiving) be used on a turkey. The recipe will just need to be doubled (or tripled, depending on the size of your turkey).
What you need:
1. Chicken or Turkey
2. Balsamic Vinegar
3. 3 Bay Leaves
4. 3 Lemons
5. 2 tbsp. Rosemary
6. 1 tbsp. each of salt and pepper
7. An extra set of hands for seasoning the bird :)

 
 1. Remove any giblets or neck from the inside of the bird. Drain out any excess liquid and pat dry.
2. Sprinkly half of the salt and pepper inside the chicken/turkey. Pour in about 2 tbsp. of balsamic vinegar. Cut the lemon into quarters and place inside of bird along with bay leaves. Make sure the inside is completely full.

Note: You can not taste the vinegar. It acts as a great tenderizer, without the added calories or chemicals.

3. On the outside, use your fingers to separate the skin from the meat, being careful not to tear it. Inside of the skin, pour in about 2 tsp. of balsamic vinegar,  1 tsp. of salt and pepper, and about 2 tsp. of rosemary.
4. Use vinegar, remaining rosemary, and remaining salt and pepper to coat the outside, both top and bottom.


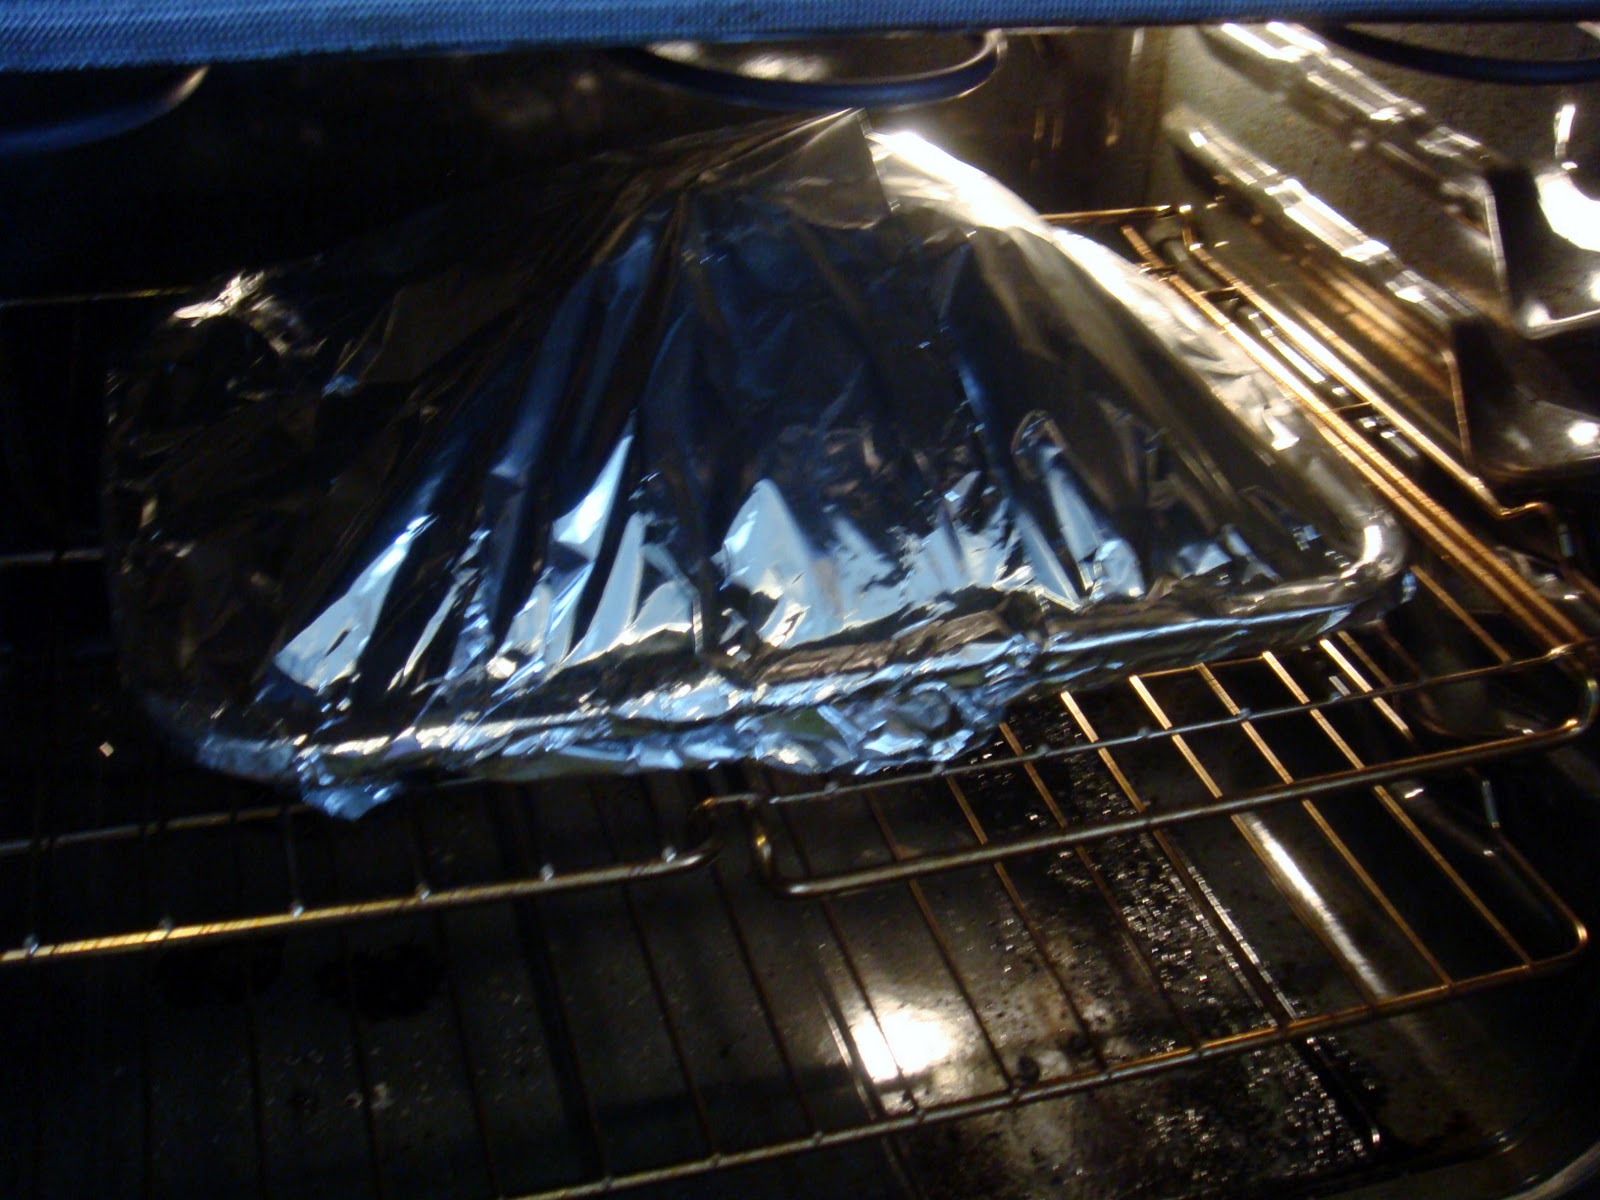
5. Place in a roasting pan (allows the drippings to fall away; makes for a healthier version). Tightly wrap the pan with foil.


To cook poultry, the rule is to cook it for 20 minutes per pound on 350 degrees. For example, this chicken weighed 4.81 pounds, so 20 x 4.81 is  96.2 minutes. Because I cook it for 15 minutes on 425 degrees, I can take off a few minutes (no more than 15). Cook your bird for the majority of the time at 350 degrees. For the last 15 minutes, remove the foil and cook at 425 degrees. I cooked this chicken for 1 hour, 15 minutes on 350 with foil, and then 15 minutes without foil on 425. Whatever your cooking time ends up being, make sure that when you're done, the juices from between the leg and the breast run clear.


 6. Remove from oven and allow to rest for at least 15 minutes. This allows the juices to redistribute throughout the bird and assures that you will have a really moist chicken or turkey all the way through.

Make sure you save the drippings in the roasting pan for gravy! In the next post, I'll show you how to make amazing, fool-proof gravy.